I haven’t posted here since my initial post, and that’s honestly because A) I love blogging, and B) I got in a bit over my head with it. Since I can only really effectively run one blog, I’m planning to condense everything and move it all here.
Anyway, I wanted to do a Step by Step of my painting process for “Ender”. This is mostly for me, though I hope you all enjoy it too. I always really love seeing the painting process an artist uses (hell sometimes I spend more time watching videos of people painting than actually painting myself)!
So, here we go!
First I started with some awful sketches to try and get a better idea of Ender’s shape. The top two I did first and are a mess. The bottom two are more true to Ender’s head and body shape.

Ender Sketches
Then I did a mockup painting of what I wanted my final painting to look like. I did this in photoshop using a photo my husband Eric had taken of Ender as reference.

Painting Mock Up
After doing a drawing and transferring that to the claybord, I got painting! I wanted the background to be messy and choppy, so I experimented with dry brushing and tried to keep things more loose and free in style.

The Beginning
Then, reverting to my old ways of painting, I jumped right in and started detailing the face. At some point I got tired of that, and painted the transmitter. That came out so well that every time I almost gave up, I looked at that stupid transmitter for encouragement.

awful
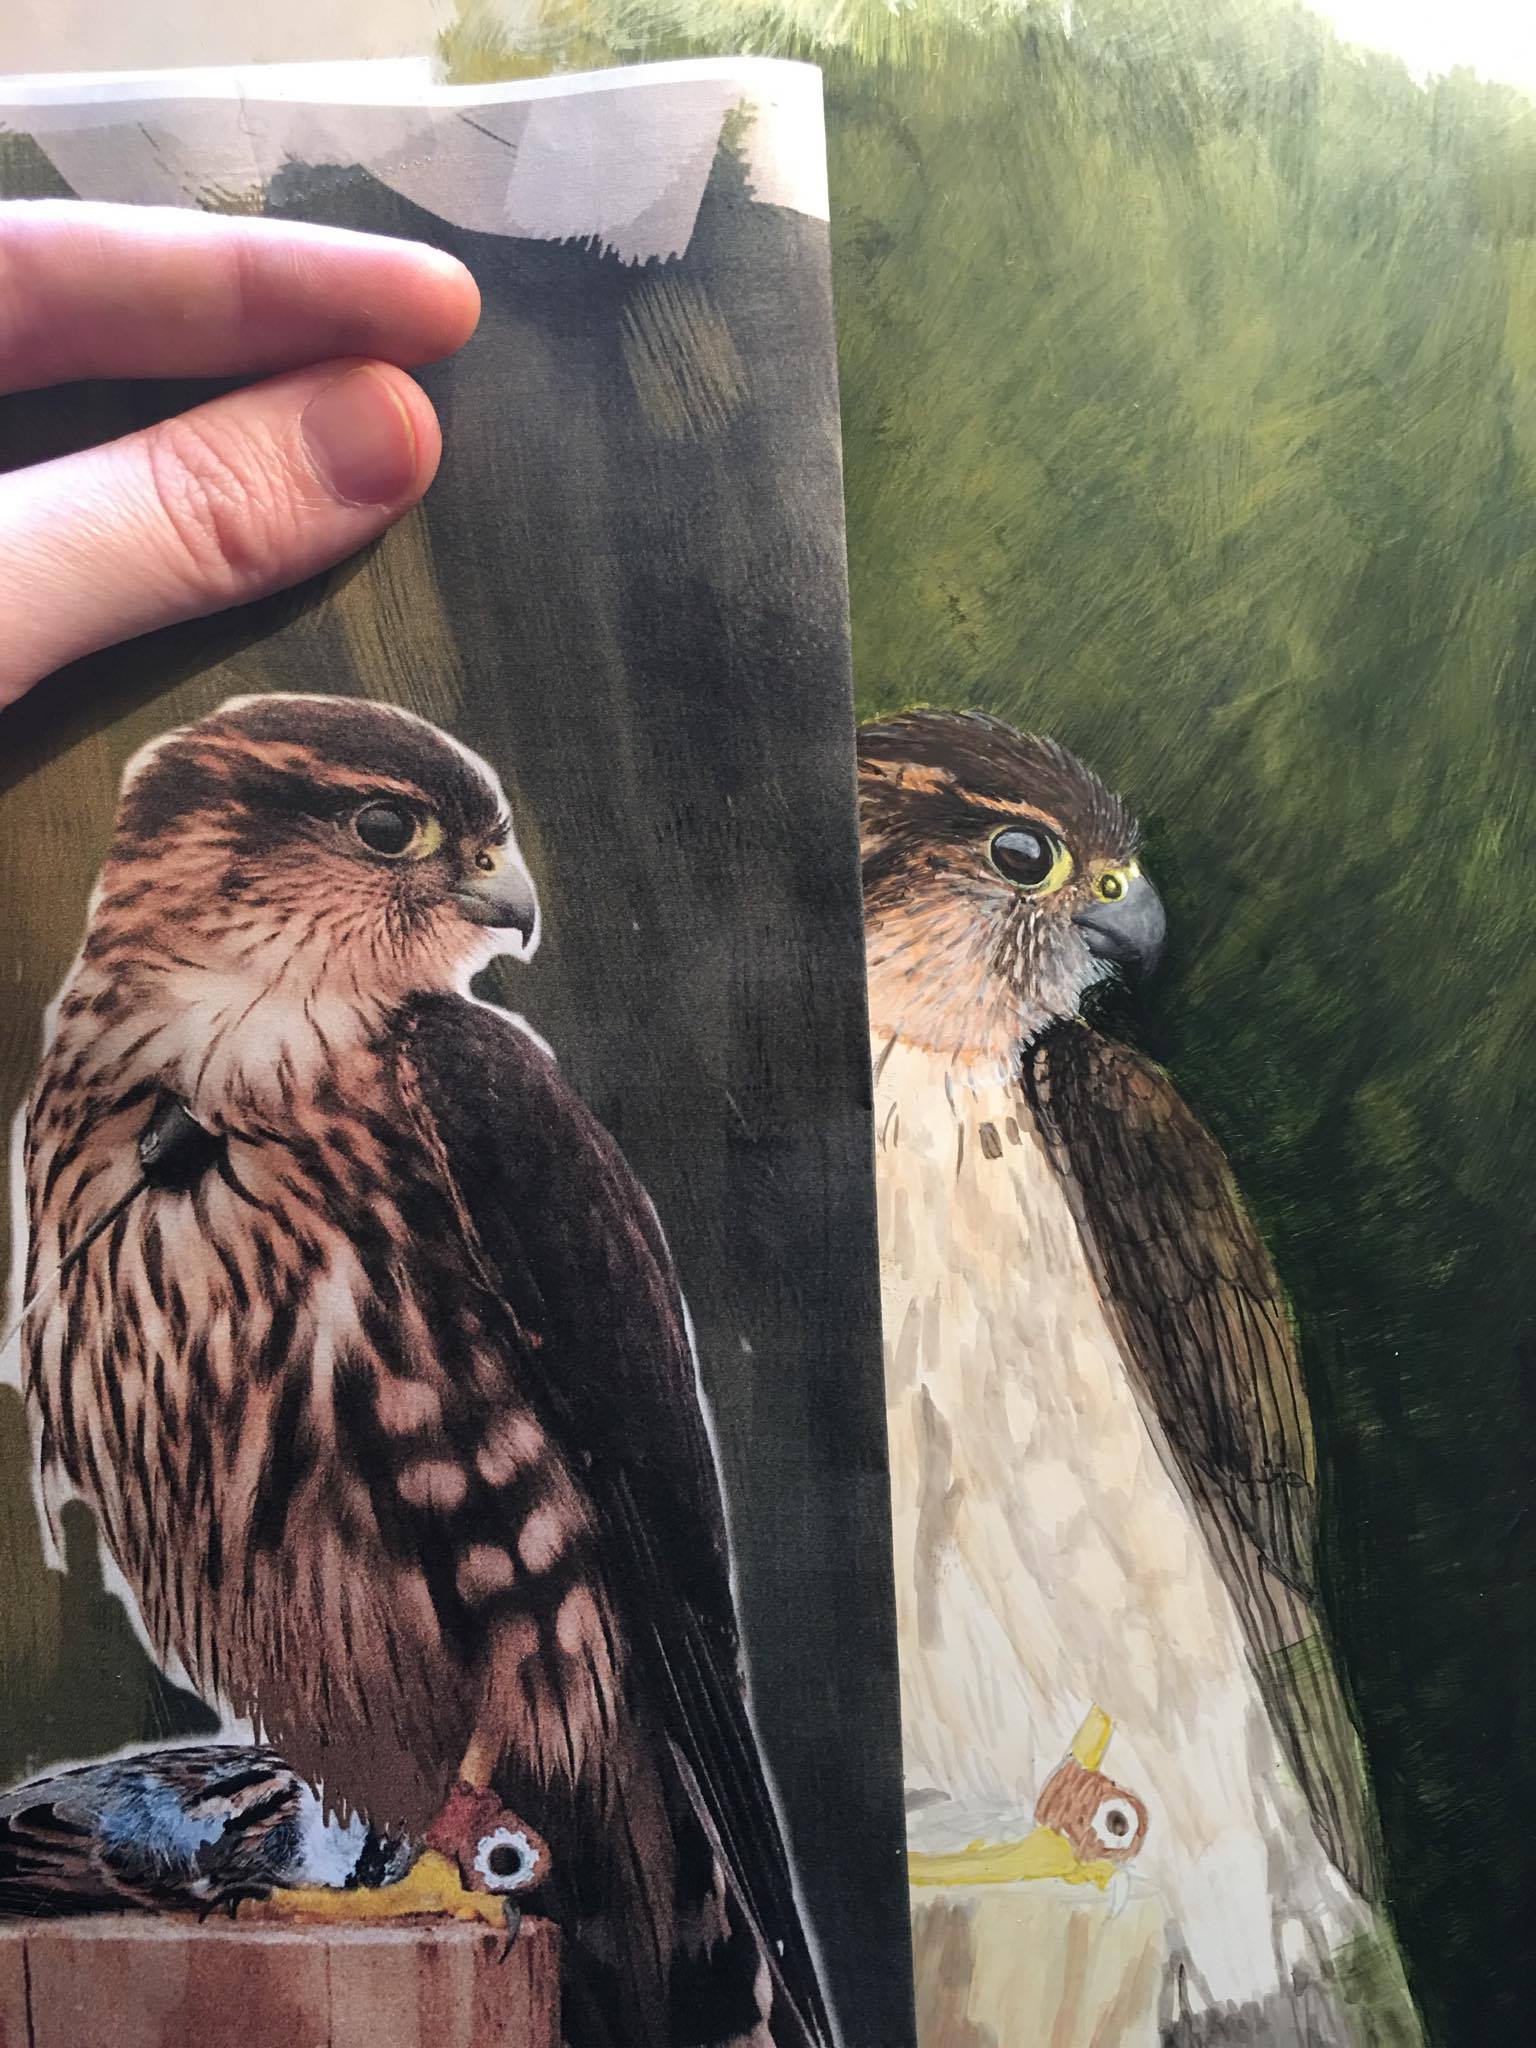
UGH. What? No. What even did I do? It becomes obvious after comparing to the ref that my painting is a MESS. The face/head is nothing like Ender. I really want this to be a likeness….

really awful
I try some minor tweaking to fix things. NOPE. STILL a mess. I begin to realize that I will have to re-draw and go back and entirely repaint his head and face.

still awful
I start first with trying to get the right angles and shape of his head. I get rid of the detail and block in simple patterns of color.

better
Once I’m happy with his face I start adding a bit more detail. Also his beak takes a lot of tweaking before it looks right. When I get tired of that, I throw down base colors for the rest of Ender, and the sparrow, and the post.

better…
Here’s a close up of the repainting…

detail
His beak here is a blob, I’m still trying to work out the shape better. But I’ve got everything roughed in at this point.

much better
Tweaking more. Still adjusting but back on track for getting Ender’s likeness in this painting. I add more to the others areas of the painting like the sparrow and the wood post.

more painting
Finally! Now I get to start on my favorite thing, details! I start detailing his face, getting things just the way I want…

detailing the face
Npw I start going detail crazy, literally working my way from Ender’s neck down to the bottom of the post. It’s still not super detailed, it’s a lot of paint blobs up close, but I wanted a more loose style for this one.

still more painting
And done! All that’s left to do is sign it!

done
Here is the final photographed painting! Which also happens to be available in my online store as a print! http://lindsayvadams.storenvy.com/
Feel free to check it out! And thanks for reading!

final image!
Comments are closed